Do you want it to have that Hollywood Look? Well, you just have to be aware of these concepts: Story, Framing, Lighting, and Sound.
Story:
You could have excellent Photography, a Hollywood director hired, but if the story is not interesting and appealing, then don’t waste your time or money. The story is the main purpose of making a video. It could be fiction or a music video or a corporate video, anything, but if your story does not have a great idea that supports it, all the effort would be lost.
Framing:
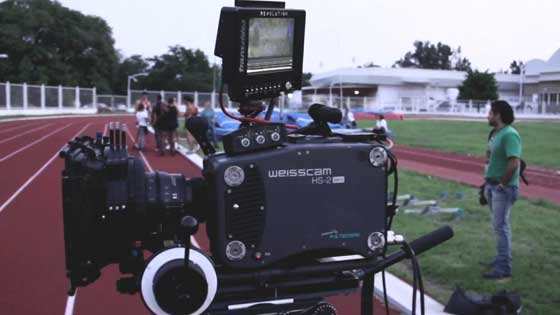
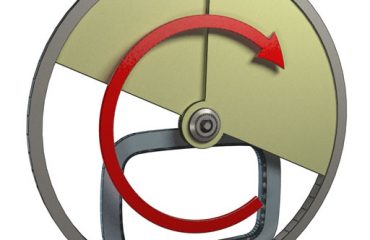
Have you noticed that camera movements in hollywood movies are not fast at all? Think again. It is not because they are conservative , it is because the cameras are really heavy, not like your shaky iPhone. Industry standard cameras weigh as much as I do. So, when shooting a movie, think of your camera as 10 times heavier. How would you move it?
Do not use zoom ins and zoom outs. Professional motion picture cameras can’t zoom, neither should you. If you want to get closer, get closer! Move your camera. Use dollies and travel movements. Think of how our bodies react to the surroundings; if you needed to get closer, you would walk. So a dolly-in would be the best.
Don’t over use extreme camera angles. Use a low or high angle sporadically and only when necessary. Use the height of your subject’s neck as a starting point.
Lighting:
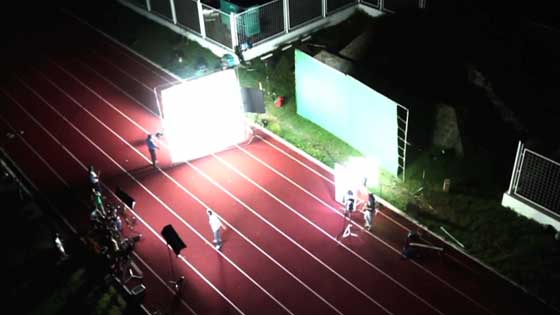
Use a three light setup. This is the most important tip, but don’t forget your background. You could have low key, high key, chiaroscuro, you decide, but try to stick to the three light set up. Also think of your frame as layers. You want your subject to pop off the screen, so a back light is a must. Use your light as a brush to paint your frame. A tip I can tell is that you should light your subject’s face so it is lighter than the background. It’s not a rule, but just look at hollywood movies. The face is almost always lighter than the rest of the frame. Don’t use hard lights unless you want a Seventies Look. If your lamp is really hard, cover it with a blanket. Always soften your lights.
Sound:
The sound is almost sixty percent of your image. Use special effects and incidentals. What you see on frame should be making a sound, but be aware of dialogue. Use foley. Replace the audio with sounds recorded in studio. Although they are not real, they will help your image. Even small details can be enhanced by sound.
These are just a few recommendations I would suggest for a beginner in filmmaking. Just take your DSRL and try it. Do some tests and you will notice how these tips can make a huge difference.
¿Quieres que tu video tenga un look estilo Hollywood? Bueno, simplemente tienes que estar atento a estos conceptos: Historia, encuadre, iluminación y sonido.
Historia:
Puedes tener la mejor fotografía e iluminación pero si la historia no es interesante ni atractiva, no pierdas tu tiempo ni tu dinero. La historia es el principal objetivo de hacer un video, puede ser ficción, documental, video corporativo, musical, lo que quieras; pero si no hay una buena historia detrás de la idea, todo el esfuerzo será en vano.
Encuadre:
¿Has notado que los movimientos de las cámaras profesionales no son tan rápidos? Analízalos. No es por que sean productores conservadores, es porque las cámaras son muy pesadas, no como las nuevas cámaras DSRL o tu iPhone. Las cámaras de la industria cinematográfica pueden pesar tanto como yo. Así que cuando hagas tu video, imagina que tu cámara pesa 10 veces más. ¿Cómo la moverías?
¡No uses zooms! Las cámaras profesionales de cine no lo hacen, así que tampoco tu deberías hacerlo. Si quieres acercarte ¡Acércate! Mueve tu cámara, usa dollies y travels. Además debes pensar en cómo nuestros cuerpos interactúan; si te necesitas acercar, entonces caminas. Así que un Dolly-in sería lo mejor.
No uses demás los ángulos picados o contrapicados muy seguido, solo cuando sean absolutamente necesario. Utiliza la altura del cuello del personaje como tu altura estándar.
Iluminación:
Usa la regla de las tres lámparas. Este es el consejo más importante, pero no olvides el fondo. Puedes utilizar el estilo de iluminación que quieras, tu decides. Pero siempre usa las 3 posiciones principales. Piensa que tu cuadro debe ser divido en capas para crear profundidad, tu personaje u objeto principal debe saltar de la pantalla. Utiliza la luz para pintar tu cuadro. Un tip que puedo darte es que siempre el rostro debe ser lo más luminoso del cuadro. No es una regla, pero pon atención en las grandes producciones. No uses luces duras, al menos que quieras que se vea como una producción de los setentas. Si tus lámparas producen luz dura ¡Suavízalas! Hasta un mantel puede funcionar. Pero cuidado que se podría quemar.
Sonido:
El 60% de la imagen es el sonido. Usa efectos especiales e incidentales, lo que ves en pantalla debe producir algún tipo de sonido, pero cuida el diálogo. Usa Foley, reemplaza algunos sonidos con librerías de efectos de sonido. Aunque no sea real, aumentará el impacto de tu cuadro. Hasta los más pequeños detalles pueden ser notados al tener un sonido que los acompañe.
Éstas son sólo algunas recomendaciones para cineastas independientes, toma tu cámara DSRL e inténtalo. Has algunas pruebas y notarás como estos pequeños consejos pueden hacer una gran diferencia.
Subscríbete y visítanos seguido, iré dando más tips y consejos para que tus producciones sean espectaculares.
